Soundproofing Strategies: Building Neighbor-Friendly Coops
Understanding the Noise Challenge in Backyard Coops
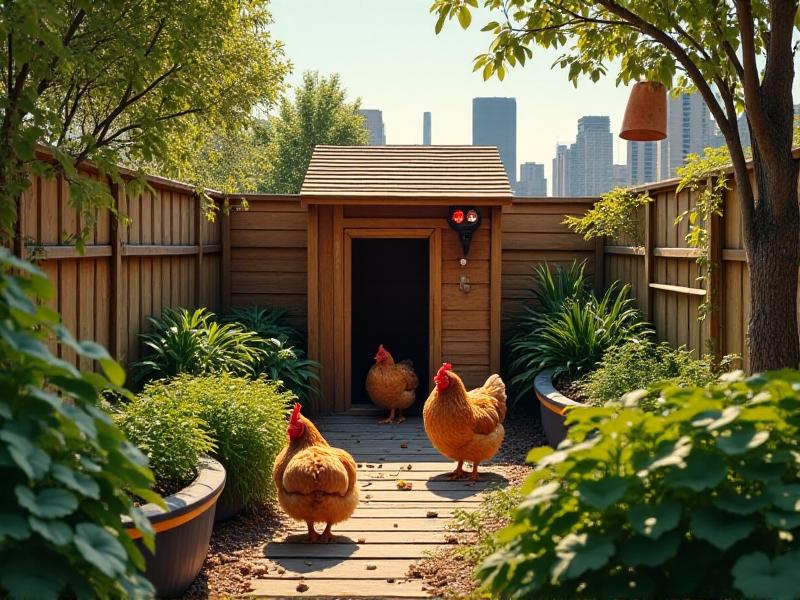
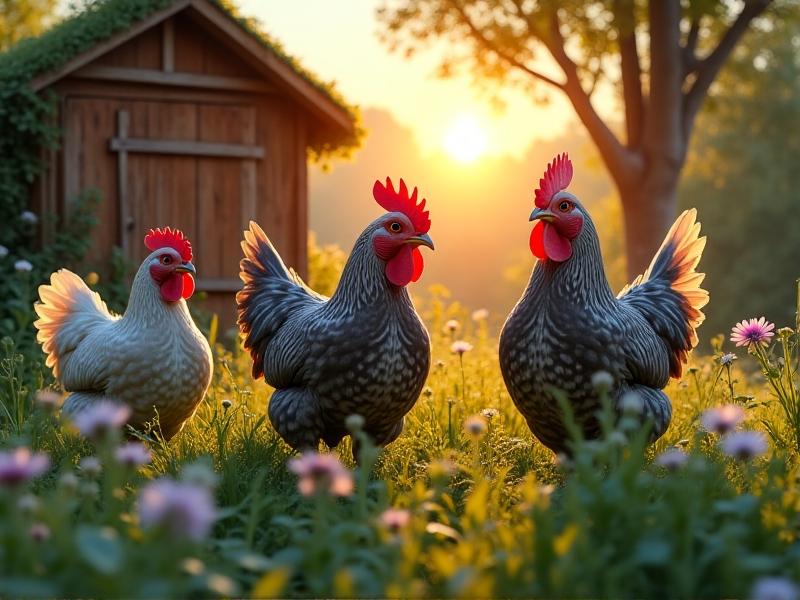
Chickens are far from silent companions. From dawn crowing to clucking and scratching, their vocalizations and activities can generate noise levels reaching 60–70 decibels—comparable to a vacuum cleaner. For urban or suburban homesteaders, this poses a challenge: balancing the joys of raising chickens with maintaining peaceful neighbor relationships. The first step in soundproofing is identifying primary noise sources. Roosters are the loudest, but even hens produce consistent daytime chatter. Additionally, scratching, flapping, and coop equipment like automatic feeders contribute to the soundscape. Understanding these factors helps tailor solutions that address both animal behavior and structural weaknesses.
Key Principles of Soundproofing: Absorption, Damping, and Mass
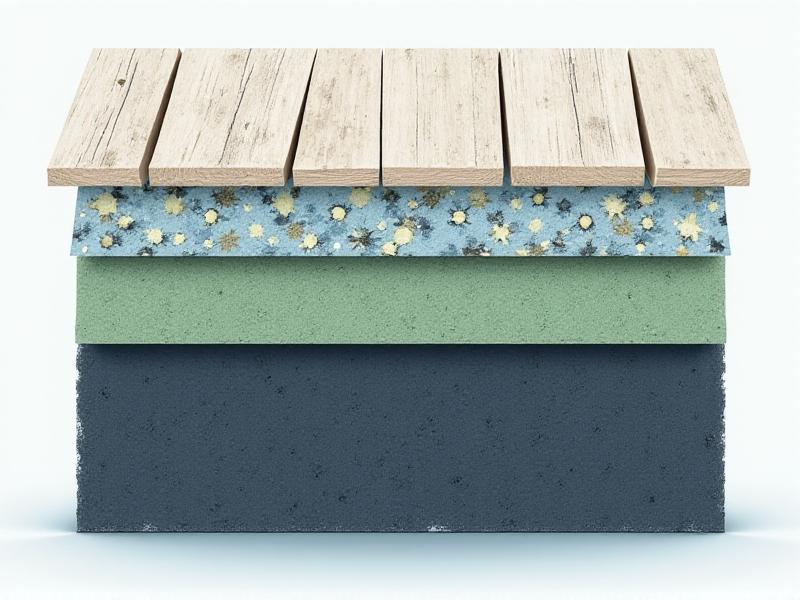
Effective soundproofing relies on three core principles: absorbing airborne noise, damping vibrations, and adding mass to block transmission. Absorption involves using porous materials like acoustic foam or mineral wool to trap high-frequency sounds such as clucking. Damping targets low-frequency vibrations—think footsteps or wing flaps—by applying resilient materials between coop layers. Mass, achieved through dense barriers like mass-loaded vinyl (MLV), physically blocks sound waves. Combining these strategies creates a multi-layered defense. For example, lining walls with MLV (mass), adding a decoupling layer (damping), and finishing with insulation (absorption) can reduce noise by up to 50%.
Choosing the Right Soundproofing Materials for Chicken Coops
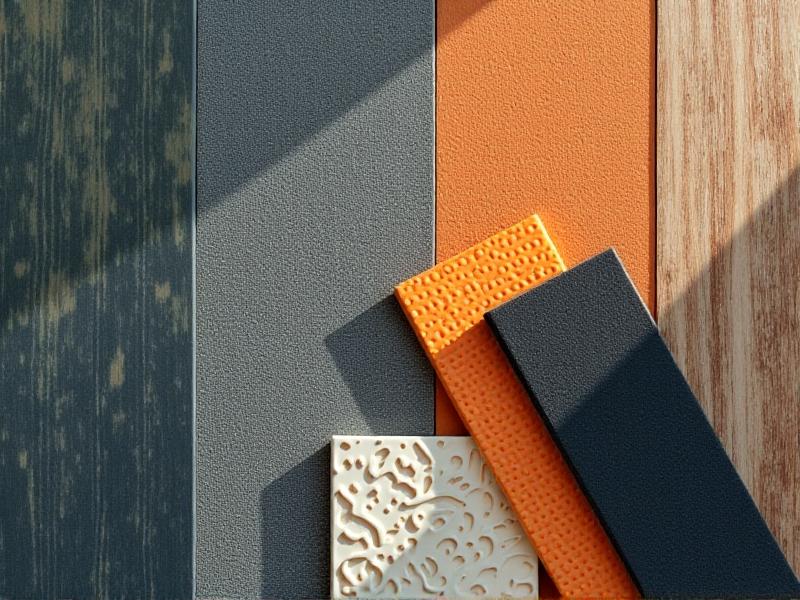
Not all materials are created equal. Budget-friendly options include thick moving blankets for temporary coverage or recycled denim insulation, which offers eco-friendly sound absorption. For permanent solutions, consider MLV sheets (1–2 lbs per square foot) or resilient channels that decouple walls from studs. Flooring matters too: rubber stall mats dampen scratching noise, while sand-sealed gaps prevent echoes. Avoid overly rigid materials like concrete alone; they reflect sound. Instead, pair them with soft layers. Always prioritize non-toxic, breathable options to ensure chicken health—avoid fiberglass insulation unless fully sealed behind barriers.
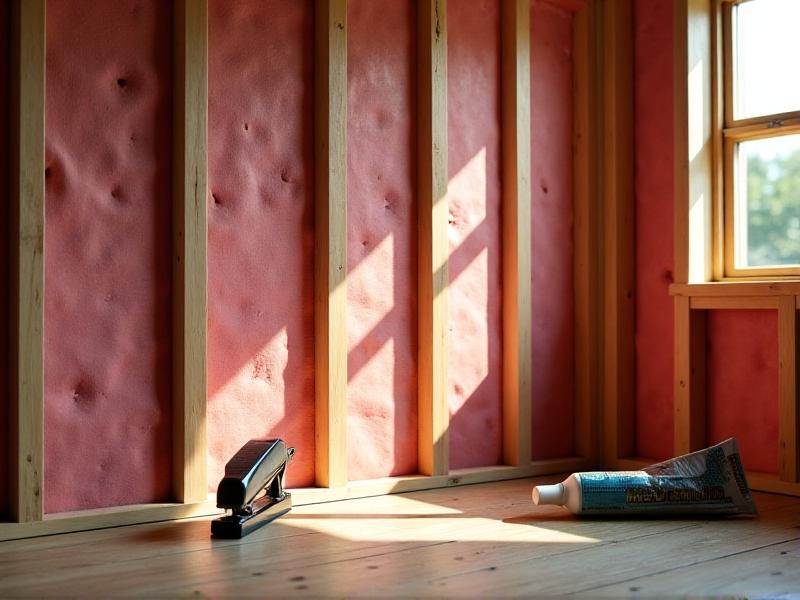
Structural Modifications: Building Walls That Block Sound
Upgrading coop walls is a game-changer. Start by adding a second layer of plywood or OSB, separated from the original wall with staggered studs or resilient channels to prevent sound bridging. Fill the cavity with rockwool insulation, then seal seams with acoustic caulk. For existing coops, attach MLV directly to walls using adhesive and screws, covering at least 90% of the surface. Double-glazed windows or acrylic panels can replace single-pane openings, while heavy-duty vinyl curtains partition noisy areas. Remember: airtightness is critical. Even small gaps can undermine your efforts, so use weatherstripping and expandable foam generously.
Sealing Gaps and Cracks: The Devil’s in the Details
A 1/8-inch gap around a door can negate 50% of a wall’s soundproofing. Inspect joints, vents, and roosting areas with a flashlight at night—look for light seepage. Seal gaps with silicone caulk, acoustic sealant, or expanding foam. Install door sweeps and adjustable vent covers with mesh to maintain airflow while blocking sound. For nesting boxes, use thick rubber flaps or magnetic closures. Even nail holes matter: fill them with putty before adding wall coverings. This meticulous approach transforms a “mostly quiet” coop into a truly neighbor-friendly space.
Soundproofing the Roof and Floor: Overlooked Areas Matter
Roofs and floors are prime sound conduits. For roofs, layer MLV beneath metal or asphalt shingles, or install a drop ceiling with sound-absorbing panels. Use rubberized underlayment for dampening rain noise. Floors benefit from a “floating” design: place rubber mats over a subfloor separated by neoprene pads. Cover with sand or deep litter bedding to absorb residual noise. In elevated coops, ensure support beams are isolated with rubber mounts to prevent ground-borne vibrations.
Landscaping as a Natural Sound Barrier
Strategic planting reduces noise by 5–10 decibels. Plant dense evergreen shrubs like holly or juniper within 10 feet of the coop. Beyond that, add a mix of deciduous trees (oak, maple) and tall grasses to scatter sound waves. Terraced slopes or berms add elevation changes that deflect noise upward. For quick coverage, install willow screens or bamboo fences—just contain roots to prevent invasiveness. Pair with a water feature like a small pond; flowing water masks residual clucking with pleasant white noise.
Strategic Coop Placement to Minimize Noise Transfer
Location is your first line of defense. Position coops at least 30 feet from property lines, with main doors facing away from neighbors. Use existing structures like garages or sheds as sound buffers. If space allows, dig a partial sunken coop; earth berms on three sides provide natural insulation. Avoid placing coops near hard surfaces like patios or driveways that reflect sound. Apps like Decibel X can help test noise levels from a neighbor’s perspective to identify optimal placement.
Maintaining Your Soundproof Coop: Long-Term Strategies
Inspect seals and materials seasonally. Reapply caulk after extreme temperature shifts, and replace worn door sweeps. Clean vents monthly to prevent dust buildup that reduces airflow and absorption. Monitor chicken behavior—stress from excessive noise reduction can increase vocalizations. Balance soundproofing with adequate ventilation and light. Periodically test decibel levels at property lines to catch emerging issues early.
Engaging Neighbors: Communication and Compromise
Proactive dialogue prevents disputes. Share your soundproofing plans and invite feedback. Offer fresh eggs as a goodwill gesture. For roosters, consider agreements to rehome them if complaints arise. Use noise logs to demonstrate improvement efforts. Host a coop tour to showcase your strategies—transparency builds trust. If tensions arise, propose mediation rather than legal escalation. Remember: a friendly wave and occasional egg carton can be as effective as any insulation.