From Permit to Pullets: Navigating the Urban Chicken Approval Process
Understanding Local Chicken Laws and Zoning

Before purchasing your first flock, understanding local regulations is critical. Most cities have specific ordinances governing urban livestock, including restrictions on coop placement, flock size, and rooster bans. Start by visiting your city’s official website or contacting the zoning department to access updated codes. Many municipalities require coops to be a minimum distance from property lines or residences—often 10–25 feet—to minimize noise and odor impacts. Renters should also review lease agreements, as landlords may prohibit poultry regardless of city rules. Don’t overlook homeowner association (HOA) guidelines, which can override municipal permissions. For example, Phoenix allows up to 15 hens but bans roosters, while Seattle permits eight chickens on standard lots. Documenting these rules early prevents costly mistakes and ensures your journey begins on compliant footing.
The Permit Application: Step-by-Step Requirements

Securing a permit often involves submitting detailed plans to your local planning office. Typical requirements include a site plan illustrating coop location, distance from structures, and enclosures. Some cities, like Austin, mandate a $25 fee and a neighbor notification process, while others require a public hearing. Include coop blueprints showing dimensions, ventilation, and predator-proofing features. Health departments may request waste management strategies, such as composting systems. Anticipate a 4–8 week review period; delays are common if applications lack specificity. Pro tip: Attend a pre-application meeting to clarify ambiguities. Denver’s “Urban Hen Program,” for instance, offers checklists to streamline submissions. Keep copies of all documents and follow up weekly to track progress.
Budgeting for Urban Chickens: Costs and Considerations

Raising chickens involves upfront and ongoing expenses. A basic coop costs $200–$800 DIY or $1,500+ pre-built. Feed averages $15–$30 monthly per bird, while bedding and health supplies add $10–$20. Permits range from free (Portland) to $150 (San Francisco). Factor in predator deterrents like hardware cloth ($50/roll) and automatic door openers ($100–$300). Adopt adult hens to bypass brooder equipment, saving $100+. Join local poultry groups to source second-hand supplies. Unexpected vet bills—$50–$150 per visit—make an emergency fund wise. Though eggs offset costs over time, prioritize welfare over savings; overcrowding or poor nutrition risks violations.
Designing a Coop That Meets City Standards

City-approved coops balance functionality and aesthetics. Minneapolis mandates 2–4 square feet per bird indoors and 5–10 outdoors. Use rot-resistant materials like cedar and ensure ventilation comprises 20% of wall space. Slanted roofs prevent snow buildup in colder climates. Install locking latches to deter raccoons and automated doors for security. Elevate coops 12–18 inches to avoid flooding. In drought-prone areas like Los Angeles, incorporate rainwater collection systems. For urban appeal, vertical gardens or decorative shingles blend coops into backyard landscapes. Always double-check setback rules; Boston requires 25 feet from neighboring homes. Pre-fab options like the ‘Eglu Cube’ meet many codes but verify sizing before purchasing.
Preparing for the Coop Inspection
Inspections ensure coops meet health and safety standards. Clean thoroughly, removing waste and uneaten feed that could attract pests. Test latches and repair broken wire mesh. Provide documentation like permit copies and waste management plans. Inspectors will measure coop dimensions and verify distances from property lines. In Chicago, they’ll check for rodent-proof feed storage. Run a trial inspection using city checklists; Sacramento’s includes 32 criteria, from ventilation to noise mitigation. Address minor issues proactively—a loose board or leaky roof could delay approval. Schedule inspections early in the week to allow time for fixes. Post-approval, maintain records in case of neighbor disputes.
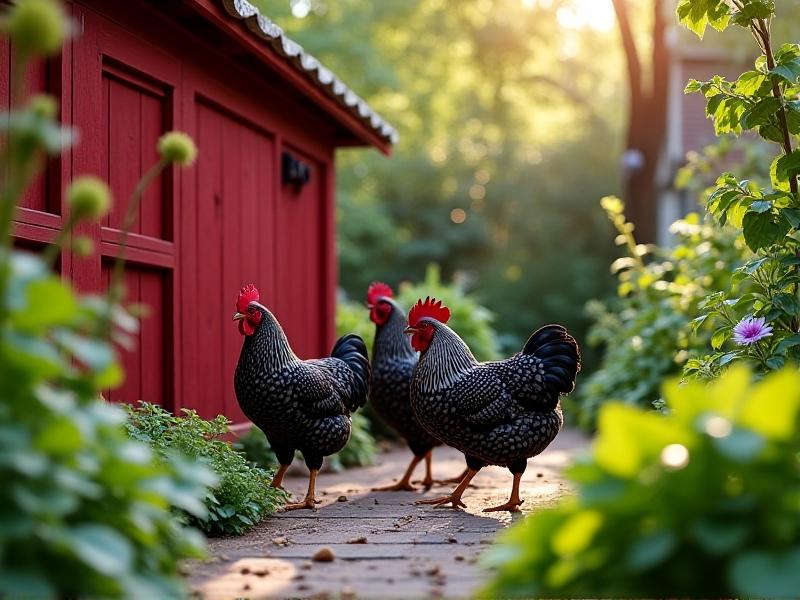
Choosing the Right Breed for Urban Living
Opt for docile, quiet breeds suited to confined spaces. Buff Orpingtons and Australorps lay 250+ eggs annually and tolerate cold. Bantams, though smaller, require less space but produce fewer eggs. Avoid loud breeds like Leghorns or Ameraucanas. Silkies, with their gentle demeanor, excel in family settings. Heat-tolerant breeds like Sicilian Buttercups thrive in southern cities. Check local climate; Rhode Island Reds handle New England winters. Source chicks from NPIP-certified hatcheries to prevent disease. Join urban farming forums to find reputable sellers. Remember, hens start laying at 5–6 months—plan accordingly if seeking immediate egg production.
Navigating Neighborhood Concerns and Building Support
Proactively addressing concerns prevents conflicts. Share eggs and invite neighbors to meet your hens, demystifying their care. Offer to implement odor-reducing practices like daily coop cleaning or diatomaceous earth. Noise concerns? Install sound-dampening insulation or choose quieter breeds. In Portland, some urban farmers create “chicken shares,” allowing neighbors to sponsor hens in exchange for eggs. Host a Q&A session to explain waste management and pest control measures. If disputes arise, reference your permit and compliance efforts. Building goodwill turns skeptics into allies—or even coop helpers.
From Hatchlings to Harvest: Daily Care and Compliance
Consistent care maintains compliance and flock health. Feed high-quality layer pellets (16–18% protein) and supplement with calcium for strong shells. Provide 1 quart of water daily per hen. Clean coops weekly, replacing bedding to prevent ammonia buildup. Collect eggs twice daily to deter broodiness. Monitor for mites or respiratory issues; isolate sick birds immediately. Record egg production and health checks—these logs prove diligence if complaints arise. In snowy regions, use heated waterers. Automated systems like the ‘Pullet Shut’ door streamline routines for busy urbanites.
Integrating Chickens into a Sustainable Urban Lifestyle
Chickens enhance sustainability by turning kitchen scraps into fertilizer. Compost manure for 6 months to kill pathogens, then enrich garden soil. Install a “chicken tractor” to till and fertilize plots. Partner with community gardens for shared compost initiatives. Solar-powered coops reduce grid reliance. Atlanta’s Urban Ag Collective models this by pairing coops with native plantings to support pollinators. Such integration aligns with circular economy principles, positioning chickens as allies in urban resilience.
Troubleshooting Common Urban Chicken Challenges
Predators pose the top threat—reinforce coops with buried hardware cloth. For noise complaints, add soundproofing panels or rehome loud hens. Rodents? Use metal feed containers and elevate feeders. Combat flies by sprinkling coop grounds with lime. If egg production drops, assess lighting (14 hours/day ideal) and nutrition. Mediate neighbor disputes calmly, offering compromises like reduced flock size. Stay informed; cities like Madison update codes annually, requiring permit renewals.