From Chick to Hen: A Beginner's Timeline for Urban Chicken Keeping
Preparing for Your Chicks: Setting Up the Brooder
Before your chicks arrive, creating a safe and warm brooder is essential. A brooder serves as a temporary home for your chicks during their first 4–6 weeks, mimicking the security and warmth of a mother hen. Start with a sturdy container—a plastic storage bin or cardboard box works well. Line the bottom with pine shavings (avoid cedar, as its oils can harm chicks) and add a heat lamp to maintain a temperature of 95°F for the first week, reducing it by 5°F each subsequent week. Include a shallow waterer and feeder designed for chicks to prevent drowning or spills. Place the heat lamp at one end to create a temperature gradient, allowing chicks to self-regulate their comfort.

Week 1–2: Caring for Newborn Chicks
The first two weeks are critical for chick survival. Monitor the brooder temperature closely—chicks huddled under the lamp signal they’re too cold, while avoiding the lamp means it’s too hot. Provide chick starter feed (20–22% protein) and fresh water with a pinch of sugar for energy on day one. Dip each chick’s beak into the water to teach them to drink. Watch for pasty butt, a condition where droppings stick to their vent; gently clean with warm water if needed. Keep the brooder clean by replacing damp bedding daily to prevent bacterial growth. Spend time talking to your chicks to acclimate them to human interaction, building trust early.

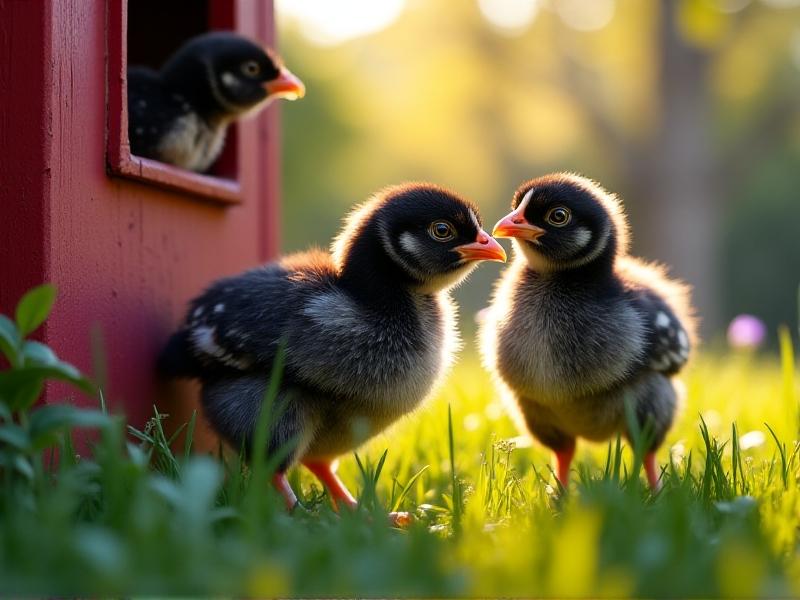
Week 3–6: Feather Growth and Transitioning Outdoors
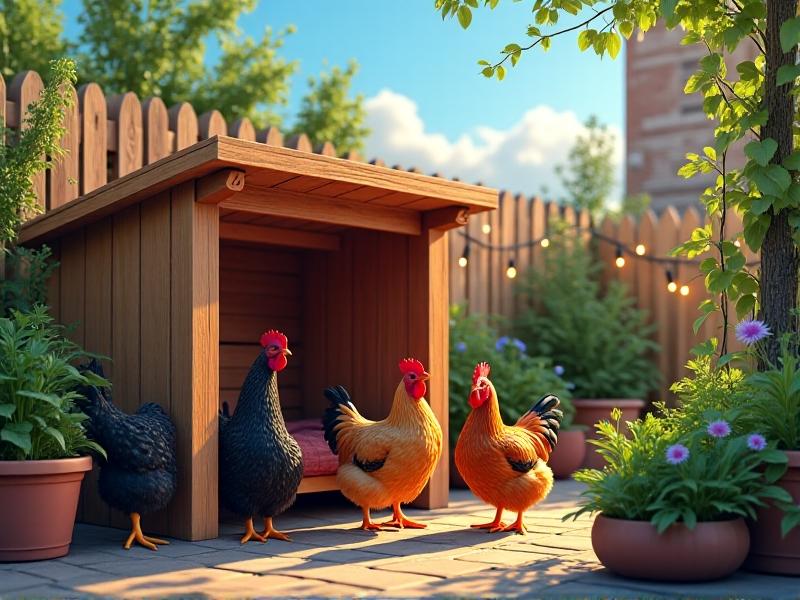
By week three, chicks begin developing wing and tail feathers, requiring slightly less heat. Lower the brooder temperature to 85°F and ensure adequate space—½ square foot per chick. Introduce perches or low branches to encourage natural roosting behavior. At 5–6 weeks, fully feathered chicks can transition to a coop. Start with supervised outdoor time in a secure run during warm days, gradually increasing exposure. Prepare the coop with roosting bars, nesting boxes (even if egg-laying is months away), and predator-proofing measures like hardware cloth. Use this time to reinforce coop routines, such as closing doors at dusk.
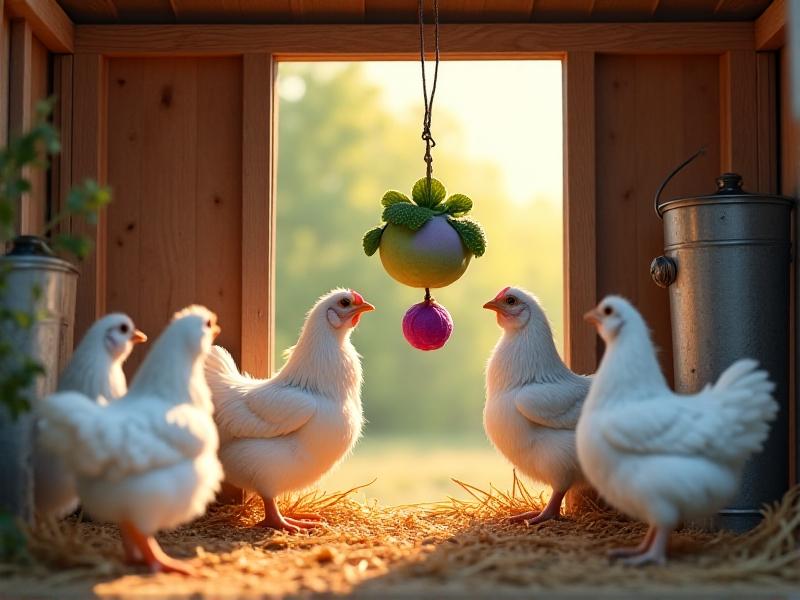
Month 2–4: Establishing Daily Care Routines
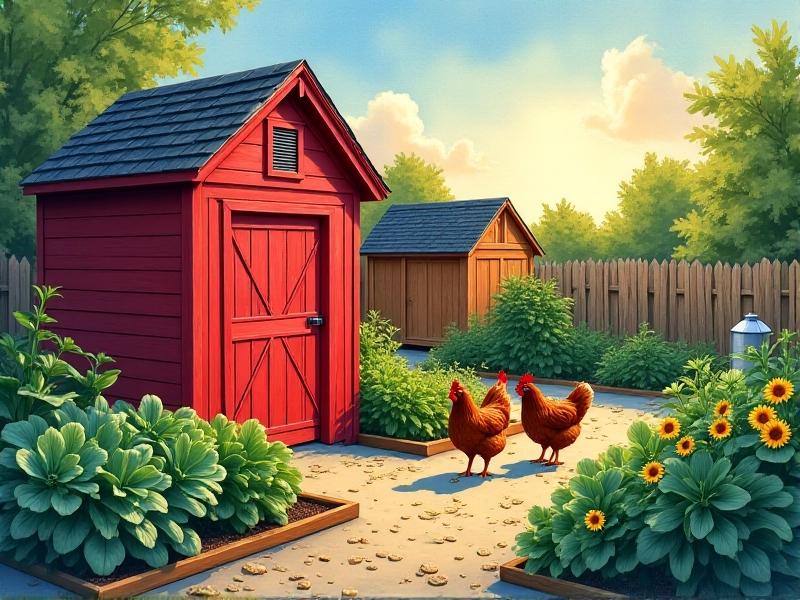
As your chickens mature, establish consistent care habits. Provide layer feed (16–18% protein) at 18 weeks, supplemented with crushed oyster shell for calcium. Clean the coop weekly, replacing soiled bedding and scrubbing waterers to prevent algae. Offer grit to aid digestion and occasional treats like mealworms or leafy greens—avoid overfeeding. Monitor for signs of illness, such as lethargy or labored breathing, and isolate affected birds if needed. Introduce boredom busters like hanging cabbage or dust baths to keep hens active. By month four, your flock should recognize you as their caregiver, eagerly approaching for treats.
Month 5–6: Preparing for the First Egg
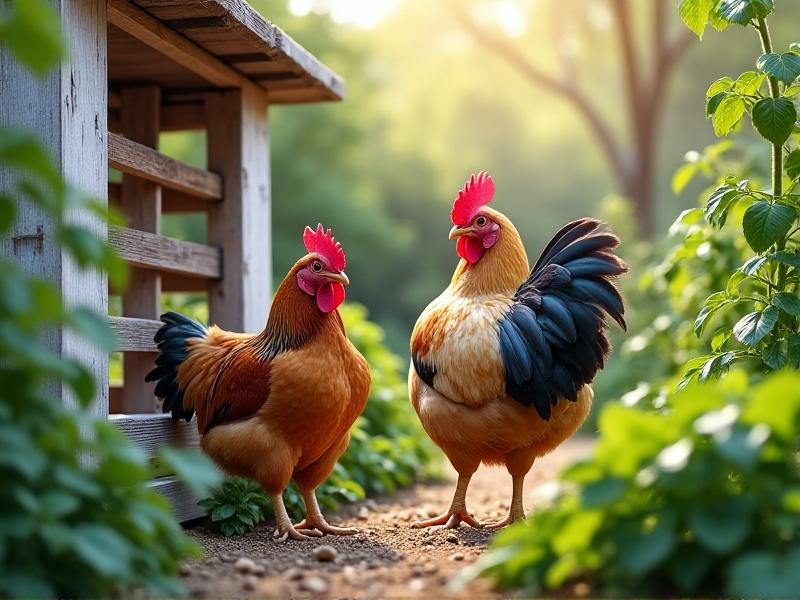
Anticipation builds as your hens near laying age. Ensure nesting boxes are dark, private, and lined with straw or shavings. Most hens begin laying between 20–24 weeks, starting with small or irregular eggs. Look for pre-laying behaviors like squatting when approached or exploring nesting boxes. Adjust diets to include extra calcium—crushed eggshells work well—to support shell formation. Track egg production but avoid stressing hens if delays occur; factors like breed, daylight hours, and stress can affect timing. Celebrate that first egg with pride—it’s a milestone in your urban farming journey!
Beyond Month 6: Sustaining a Healthy Flock
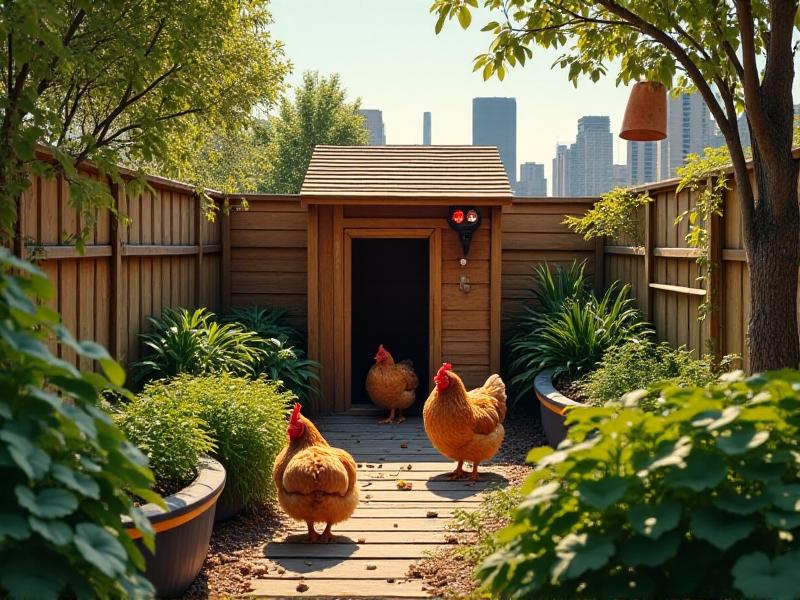
Once your hens are laying, focus on long-term health. Rotate grazing areas to prevent soil depletion and parasite buildup. Perform monthly health checks for mites, lice, or scaly leg mites—apply poultry-safe treatments as needed. Adjust feed seasonally; increase calories in winter and provide shade/water in summer. Collect eggs daily to discourage broodiness. Consider introducing new chicks every 2–3 years to maintain egg production, keeping older hens as retirees. Build a community with fellow urban chicken keepers to share tips and surplus eggs, enriching both your flock and neighborhood.